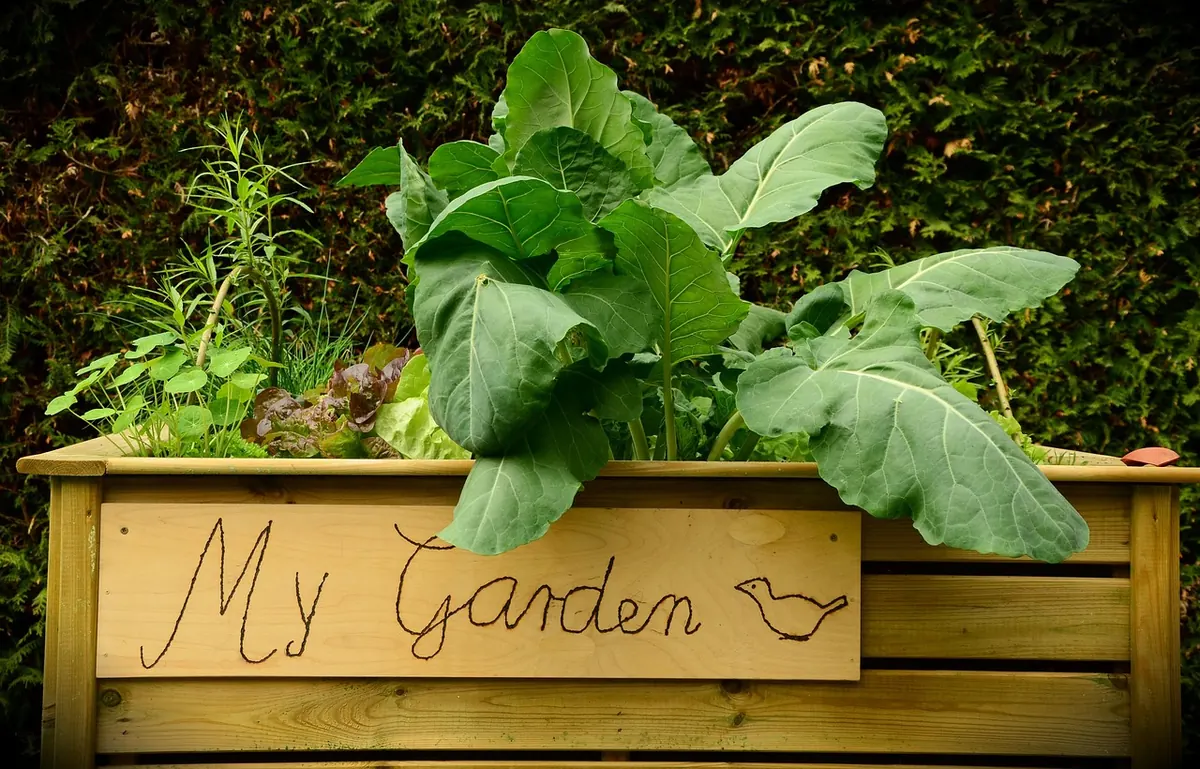
Scaffold boards are the best-value timber most gardeners never think to use. They are thick, they are rough, and they have already spent time out in the weather, so they have nothing left to prove. Two boards stacked on edge give you a bed around 45cm deep — deep enough for carrots, tall enough to sit on while you weed. Four boards, a box of screws and an afternoon will get you a bed roughly 2.4m by 1.2m that will outlast most of the kits sold in garden centres.
Why scaffold boards suit raised beds
A standard scaffold board is about 225mm wide and 38mm thick. That thickness matters. Thinner decorative timber tends to bow once it is holding a cubic metre of wet soil, and a board that bows outwards is hard to pull back. Scaffold boards also come in long lengths — 3.9 metres is the common one — which means fewer joins and less cutting.
They are rough-sawn rather than planed, so they take preservative well and weather to a soft grey. Best of all, you pay a fraction of what new timber of the same dimensions would cost.
Work out the size before you buy anything
Keep the bed no wider than 1.2 metres. Any wider and you cannot reach the middle from either side without standing on the soil you have just loosened, which compacts it. Length is up to you, but 2.4 metres is a sensible default — and it falls neatly out of 3.9-metre boards.
Here is the cutting plan for a 2.4m by 1.2m bed, two boards high:
- Two 3.9m boards, each cut into one 2.4m length and one 1.2m length, leaving about 30cm of waste per board
- That gives four long sides and four ends — enough for two complete courses
- Two corner posts, 75mm x 75mm, cut to roughly 50cm so they run the full height of the finished bed
If you do not own a circular saw, ask the timber yard to make the cuts. Many will do it for a small charge, and theirs will be square.
Choosing and checking your boards
New boards are perfectly good. Reclaimed ones are cheaper and often more characterful, but give them a proper look before parting with any money.
- Reject anything with soft, crumbly patches or a split running along the end. That is rot, and it will spread
- Run a magnet along each board to find metal banding, staples and old nails
- Slight cupping or a small twist is workable — screw the flatter face outwards and the frame will pull it straighter
- If you do not know what the boards were treated with, plan to line the inside. More on that below
Store them flat and off the ground until you are ready to build. Stacked on their edges in the rain, they will twist.
Assembling the frame
Lay the boards out on a flat surface — a driveway or a pair of trestles — and dry-fit the first course before you drive a single screw.
Corner posts
Cut two posts to about 50cm. These sit in the corners and give you something solid to screw into, which is what stops the ends of the boards splaying outwards once the weight of soil arrives. You can set them inside the corner, where the soil hides them, or outside as a visible detail. Inside is easier.
First course
Butt the long sides and the ends together around the posts. Clamp each joint, then drill pilot holes — scaffold board is soft enough to split if you go straight in with an 80mm screw. Use exterior-grade screws, 80mm to 100mm long, two or three per joint, driven through the board into the post. Do not overtighten; let the head sit just below the surface.
When the first course is together, measure both diagonals. If they match, the frame is square. If they do not, rack it gently until they do, then check the whole thing with a spirit level.
Second course
Lay the second course on top, staggering the joints so they do not line up with the course below. The frame will be noticeably stiffer for it. Clamp, drill, screw down into the post, then repeat the diagonal check. If your posts are short, screw up through the lower board into the upper one as well.
Once the frame is built, fill it with soil before moving it. An empty bed is light and awkward; a full one is heavy and immovable, so site it first.
Siting it, and whether to line it
Most vegetables want sun, so pick the brightest spot within reach of a tap. Strip the turf or smother it, then level the ground roughly. A bed on uneven ground will rock, and once it is full you will not want to move it.
Line the inside if you are working with reclaimed boards of unknown origin, or anything that smells strongly of tar. A butyl pond liner or a heavy damp-proof course membrane stapled to the inner faces keeps soil away from the timber and slows the rot. Pressure-treated timber sold for garden use is generally considered safe for growing food, but lining removes the doubt entirely. Skip it if you are using untreated boards and are happy to replace them sooner.
Beds on paving work well, though two things are worth knowing: they dry out faster because there is no subsoil to draw moisture from, and damp timber will leave a mark on the slabs.
Filling it properly
A 2.4m by 1.2m bed at 45cm deep takes roughly 1.3 cubic metres of growing medium — about 1,300 litres. That is far more than most people expect, so budget for it before you build rather than after.
Start with a layer of plain cardboard over the base, overlapped generously and soaked. It suppresses weeds underneath without stopping worms coming up.
Then fill with a blend rather than a single material. Straight compost dries out, shrinks badly and is expensive in bulk; straight topsoil can be heavy and lifeless. Roughly half and half by volume is a good starting point. On clay, mix in a couple of bags of horticultural grit. Avoid filling the whole bed with manure — it is too rich for many plants and can burn young roots.
Fill to about 4cm below the rim so there is room to water without it running off, then water thoroughly and leave it to settle for a week or two before planting.
Keeping the bed in good order
After a season or two the level will drop as organic matter breaks down. Top it up with compost each autumn rather than letting the soil fall away from the boards.
Give the frame a quick check every spring. Screws work loose, and a corner that has begun to open will let soil escape. Tighten what you can and replace anything that has gone soft — a single board can be swapped without dismantling the whole bed.
Left alone, scaffold boards will give you eight to ten years or more, and considerably longer if you lined them. Not bad for timber that was never intended for the garden in the first place.
Photo: congerdesign / Pixabay